Ingredients:
1 box cake mix (cook as directed on box for 13 X 9 cake)
1 can frosting (16 oz.)
Wax paper
Yellow candy melts (1 lb. pkg.)
Edible ink pens (Americolor pens are recommended, I used the Betty Croker version and now I know why)
Candy decorations (will discuss this later on down the blog)
I chose to use a Rainbow Chips cake and frosting but these can be made with any cake/frosting combo!
Bake the cake as directed on the box and let it cool.
Destroy it! LOL Crumble it up into a bowl.

Add about 3/4 of the jar of frosting and mix together. It will be a gooey ball of yumminess!

Roll the gooiness into quarter size balls and put on a wax paper covered cookie sheet. Freeze them for at least an hour, I did mine overnight.

Melt a small amount of the chocolate to use as glue for the sticks, dip them in the chocolate and then insert them into the cake pops about 1/2 way.

Melt the candy coating

Dip each cake pop into the candy coating and stick into styrofoam blocks to hold them up. You can also make them upside down, just place them on a sheet of wax paper.

FYI....Putting them in glasses DOES NOT WORK! LOL

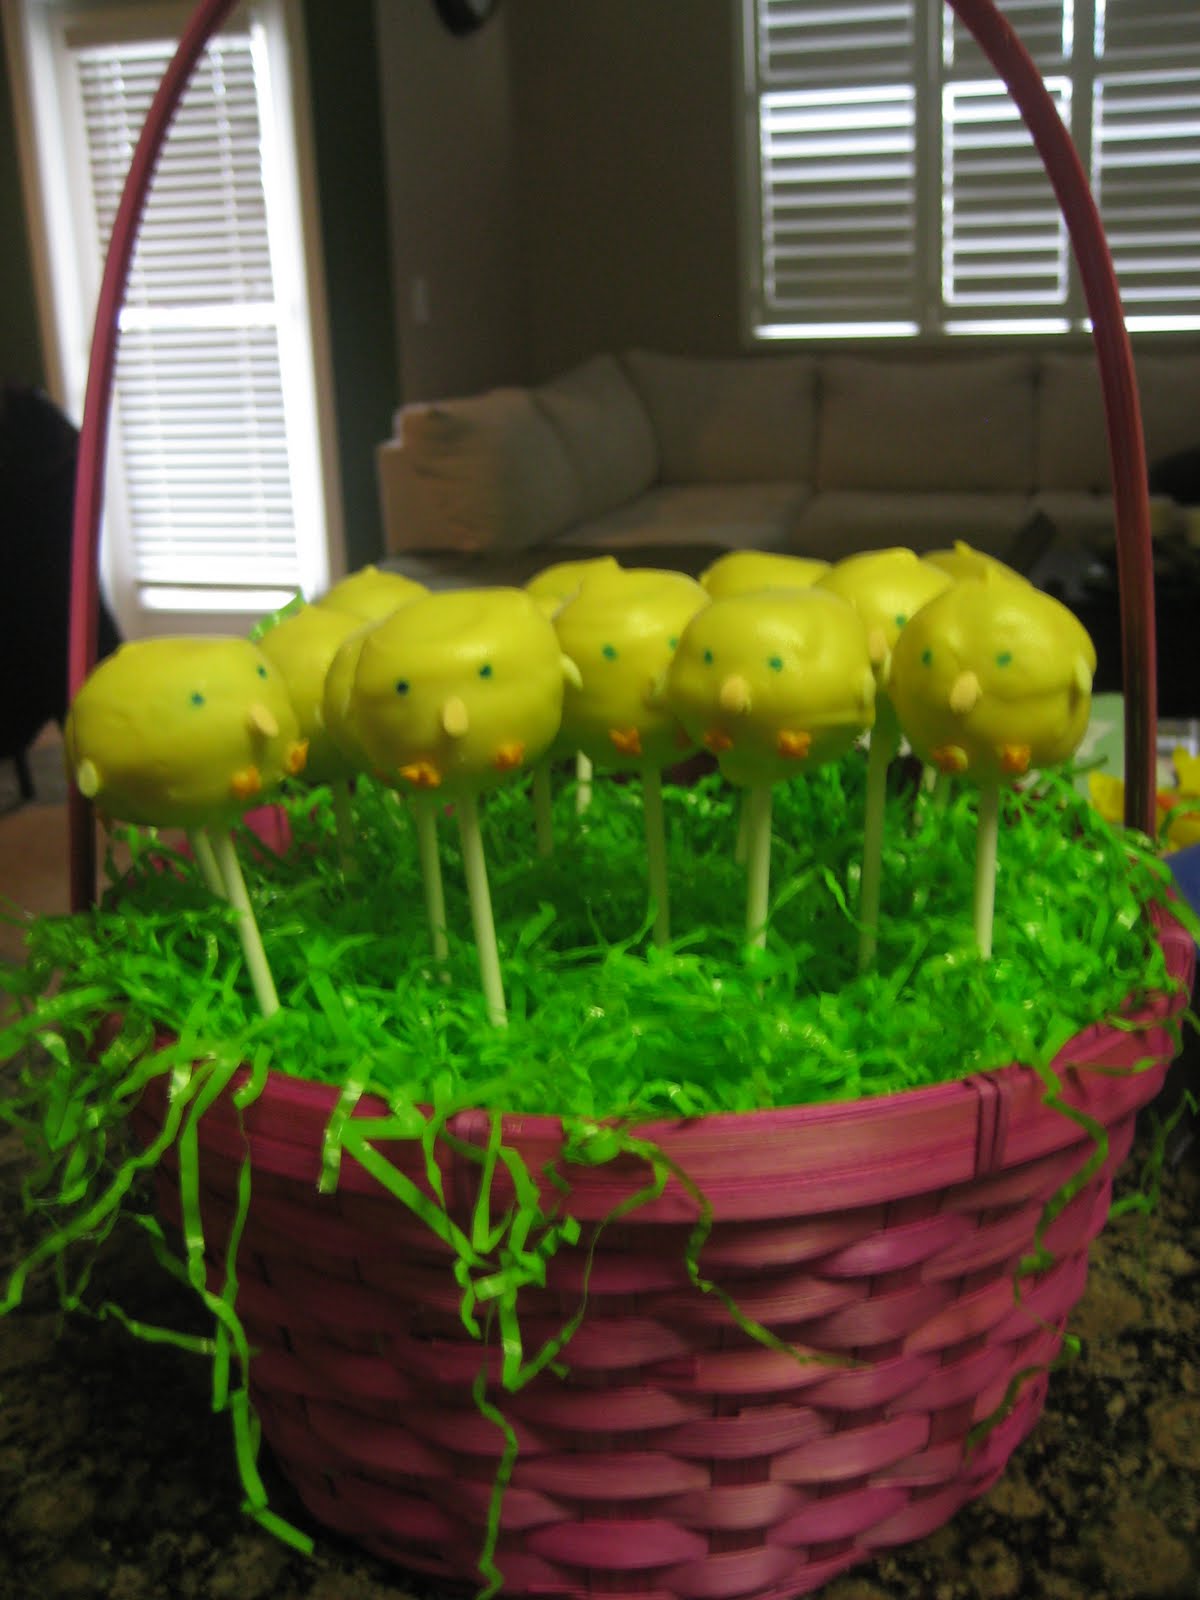
Let them harden and now its time to decorate! Bakerella uses rainbow candy coated chips for her beaks and wings. And Little flowers for their feet. I didn't have those so I improvised. Hers are way cuter than mine!! We called them little nerdy chicks with their big noses!

I then put them in a basket with some Easter grass and was ready to go!!
Enjoy making them and let me know if you do and how they came out!
~Nicole
They were so cute but especially DELICIOUS!!!
ReplyDeleteDanielle